BMW 530d xDrive F11 sideview camera repair
A while ago my sideview camera for my BMW 530d F11 started to fail. Sometimes after some heavy rainfall the camera started to malfunction and throw errors. Eventually it failed completely and each time I started up the car I got the annoying error telling me that the rear view camera is not working except that it was the sideview camera but apparently BMW software can't tell the difference...
Unfortunately the car does not have warranty anymore so after visiting the local dealer I found out that the costs for repairing this single camera can easily go beyond astonishing 500eur. I rarely use the camera anyway so I was not going to throw away 500eur for something I don't use, but I wanted the error to go away. So I kind of had two choices here - either I remove both sideview cameras or I repair it myself.
After digging around for information I came across a post in forum.bmw5.co.uk about similar issues. Some people recommended cleaning the camera connection or swapping out the camera if it does not help. Tried that, didn't work. The most probable cause here was a faulty camera cable. To swap out the cable I would have to disassemble half the car ... oh boy...
For a long period of time the only viable choice was to order genuine LVDS camera cable from BMW which did cost almost 300eur. Eventually some clever guy realized that he could sell aftermarket cables on ebay for a fraction of price:
So I got this cable, first I tried to connect the camera to the cable and cable to the TRSVC control unit just to see if it actually works. And it worked! Like a charm!
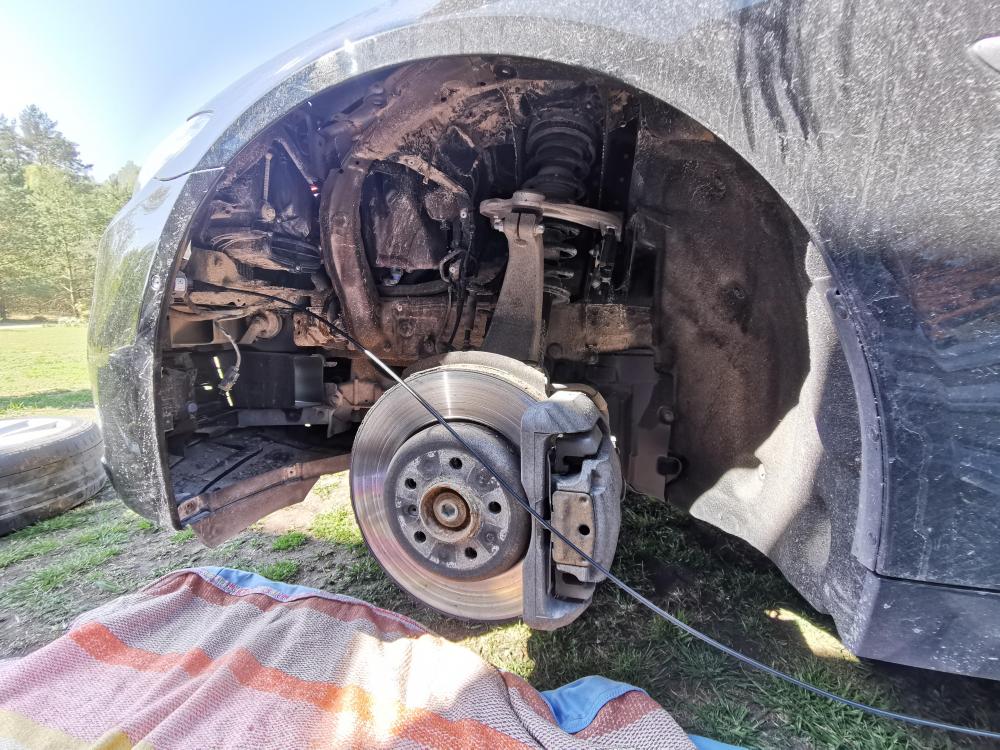
I had a certain amount of confidence in my abilities to successfully disassemble all the required parts and put everything back together. I started off with disassembling the front wheel arc and routing the cable next to the old cable. Don't bother removing the old cable, it's basically impossible. And it's not necessary to do that anyway. I cut the old cable some 30cm off the end so I could inspect it afterwards. After that I connected the new cable to the camera and started to route the wire.
Some holes are quite small so I had to remove the plastic connector cover for the TRSVC plug so I could route the cable more easily. Without the plastic cover the plug takes up much less space and can be routed with minimal intervention. Still I would suggest filling all the gaps with silicone afterwards so you don't have water leaking anywhere.
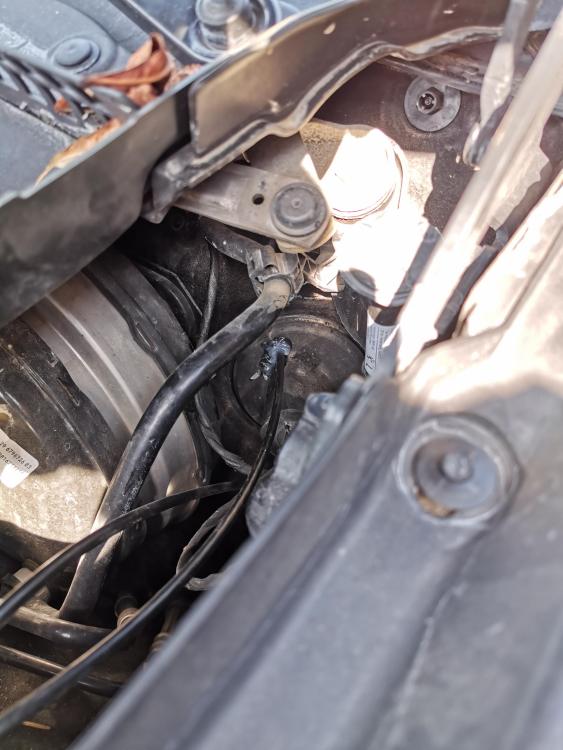
Routed the cable to the interior next to all other cables. Since the existing hole was not large enough I had to drill a new one. I decided to give a decent spacing so I don't damage any other cables with a drill bit.
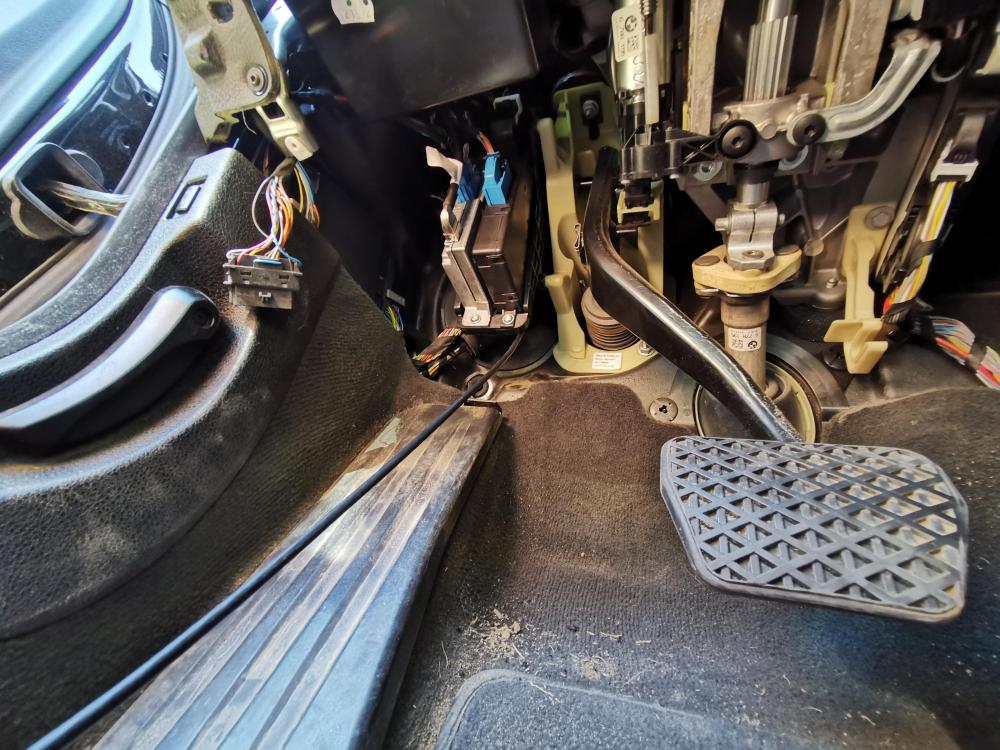
Had to remove the bottom panel below the wheel in order to access the cable. Most of the people afterwards removed the car seat to access the cables, however I decided to remove only the side panels since there are basically no screws there and it seemed a lot more straightforward and simple to do.
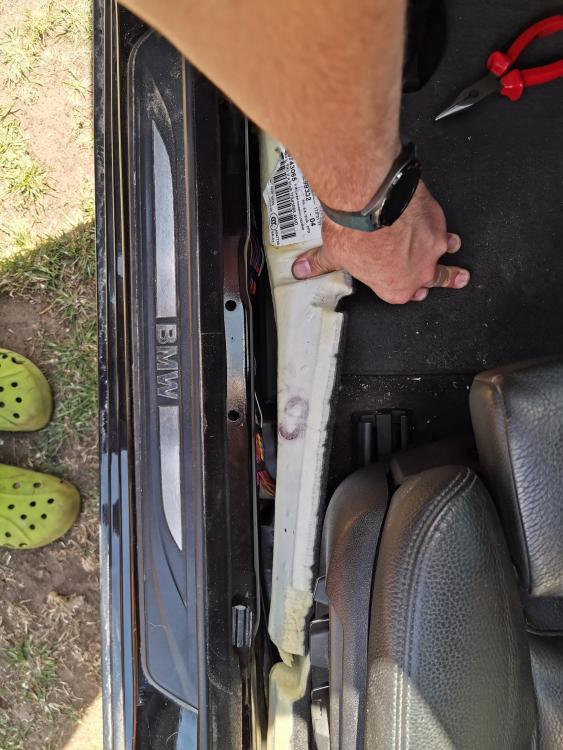
And I was right. I even found the old camera cable there. So I ended up routing my new cable right where the old one was. The rear seat had similar panel for the cables and came off pretty easily. Unfortunately I broke some of the plastic clips when placing the panels back so I suggest to triple check how those clips are positioned before pushing them back in.

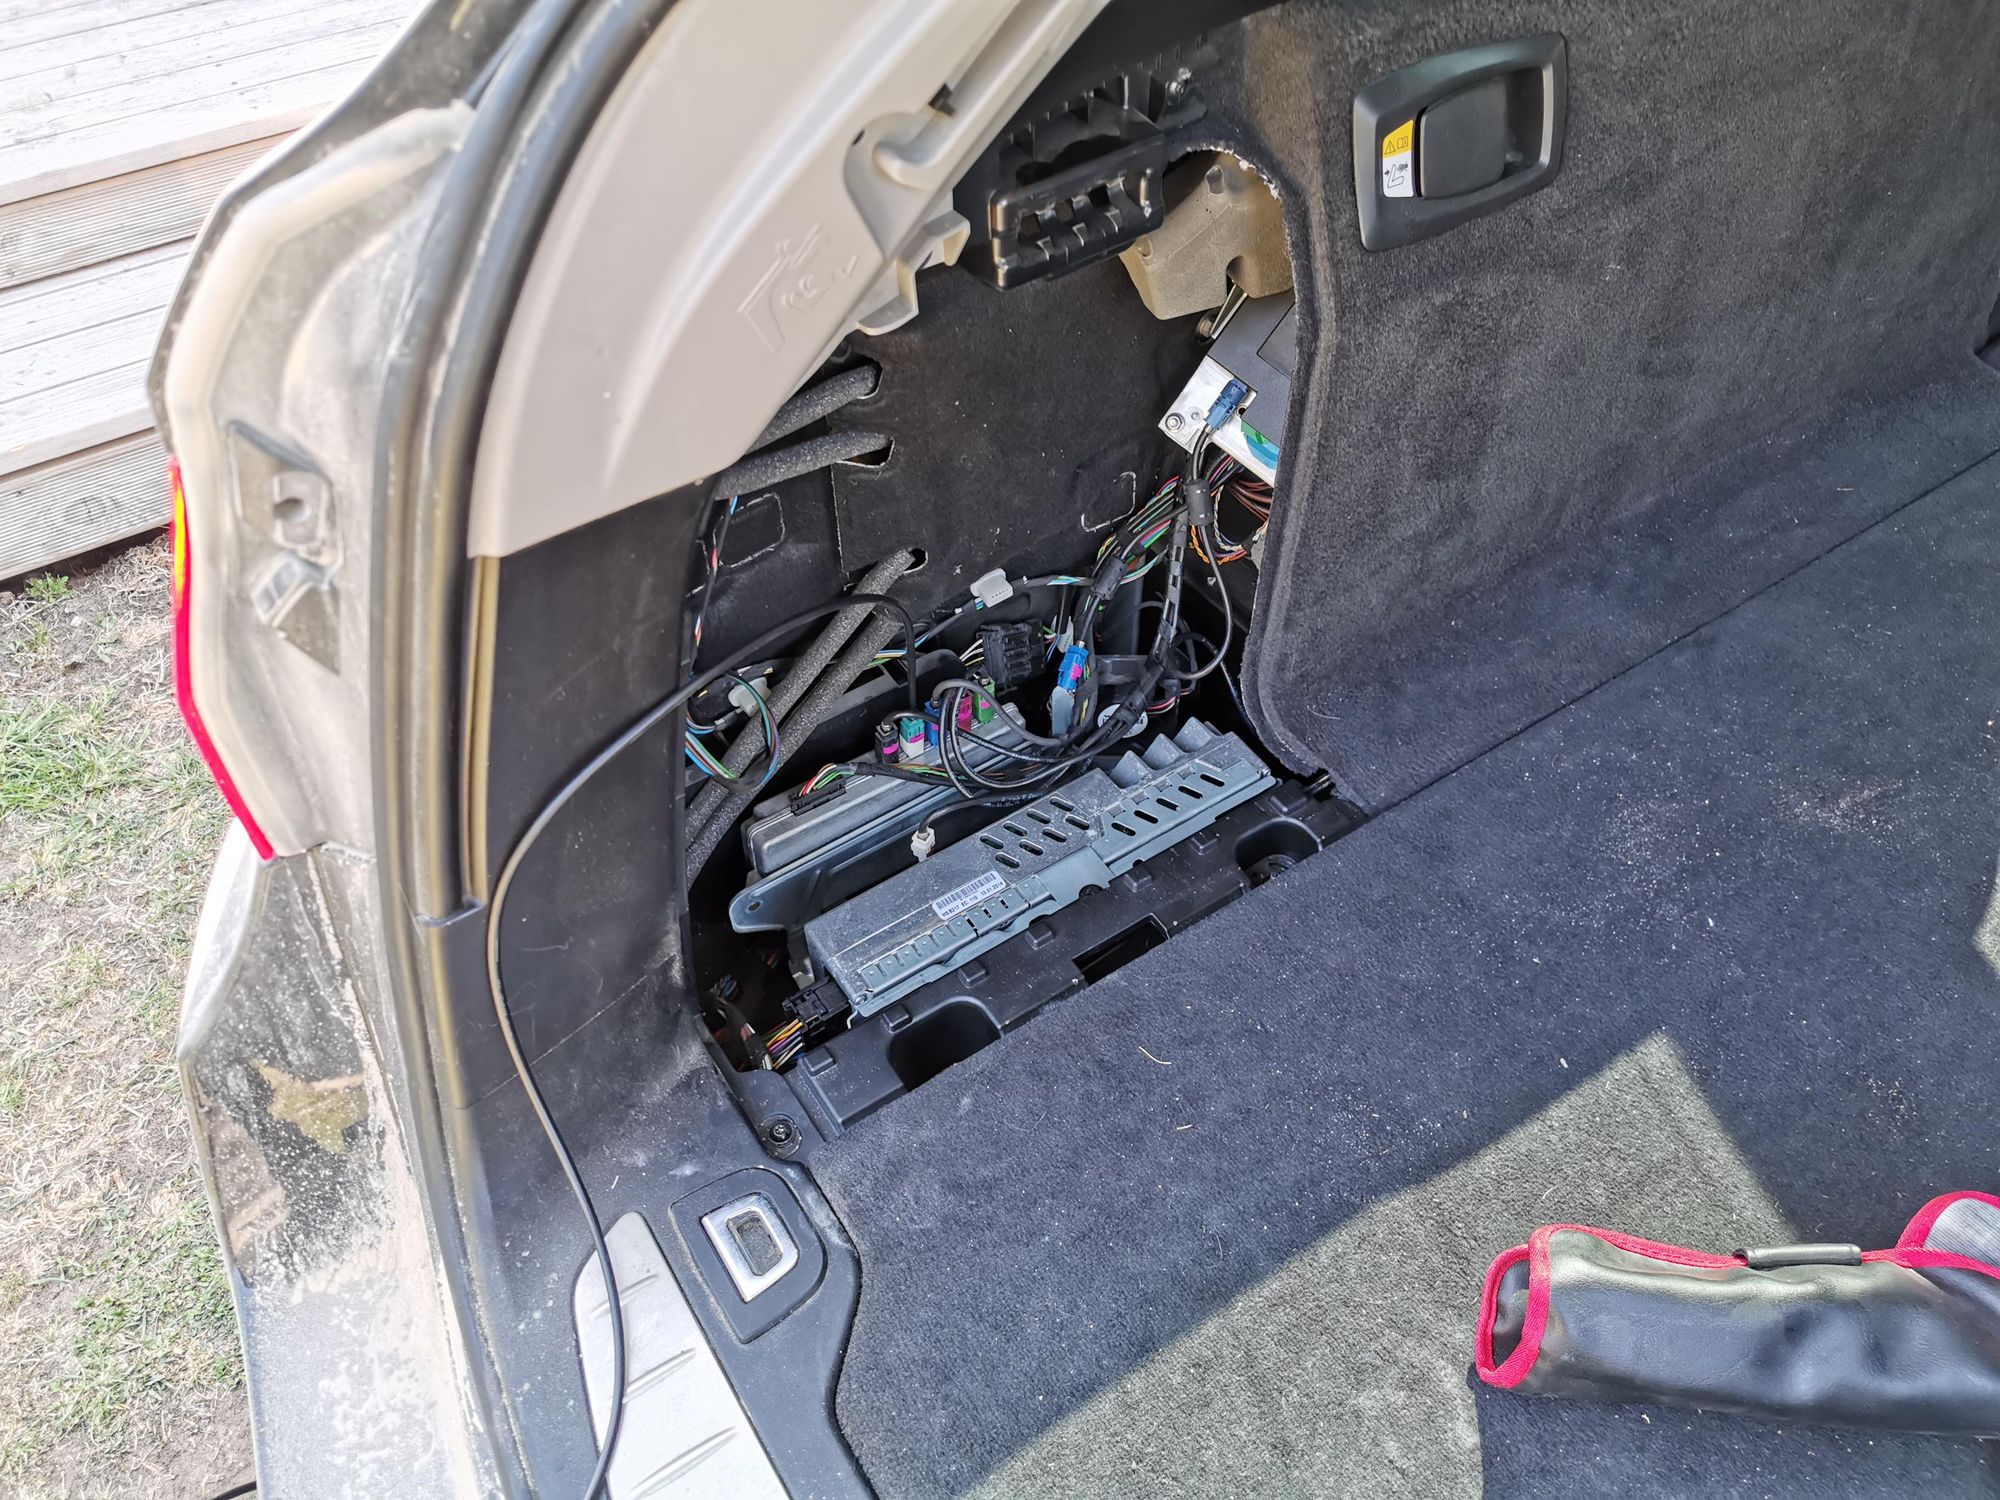
After I got past the rear seat it was just a matter to push the cable through to the trunk and reach the TRSVC unit. Took a few tries (because you can't see anything, just have to do it in blind) and eventually the cable went through.
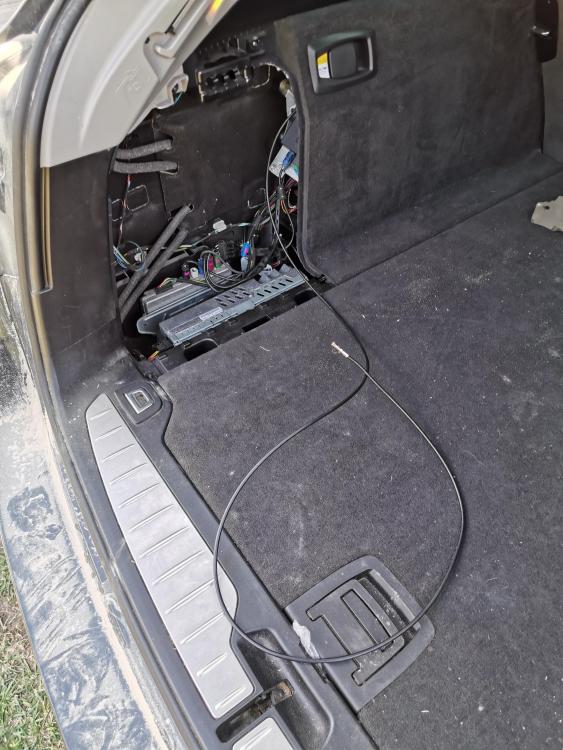
Afterwards you just have to put the plastic cover back on the connector, connect the cable to TRSVC and then do a calibration (re-learning) in the ISTA-D (Rheingold) software. At the end the error was gone and both sideview cameras were working correctly. Total costs for the project were around 100eur (instead of 500eur+ at the dealer lol)... and about 4 hours of disassembling and assembling everything back together.

Comments ()