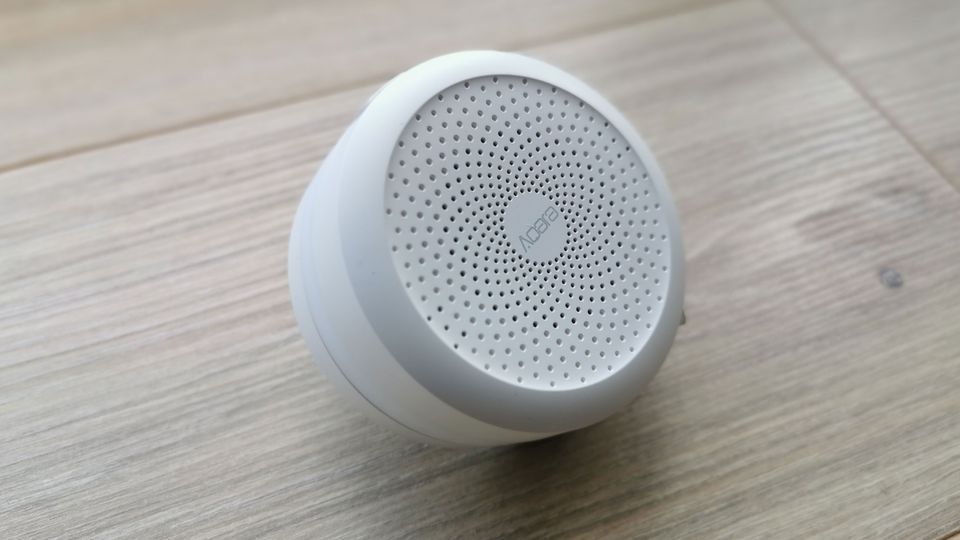
Xiaomi Aqara Hub (CN) on European server

WARNING: Beta MiHome application released on September 19, 2020 includes checks on the hardware origin - if you have a camera which is supposed to work on China server but your hub has been modified to run on European server then it will complain that you need to switch to China server in order to use the device. You will get a message "Please download the China Version". This update will probably soon be launched on stable branch and released worldwide and will break all Aqara Hubs which were modified to use European servers. Currently the only soltion is to downgrade to older version (search appropriate apk on google).
UPDATE: The how-to is now also available on youtube.
Since day one when I got the Aqara Hub I wanted to use the European server. However when I switched to Mi Home app to Europe, the Hub will not show up in the "add device" screen. The "devices nearby" also didn't do much. Browsing different forums I found out that nobody could actually make it work with EU servers, you had to use China Mainland which is basically the only one which works with China hub. It was not good enough for me ...

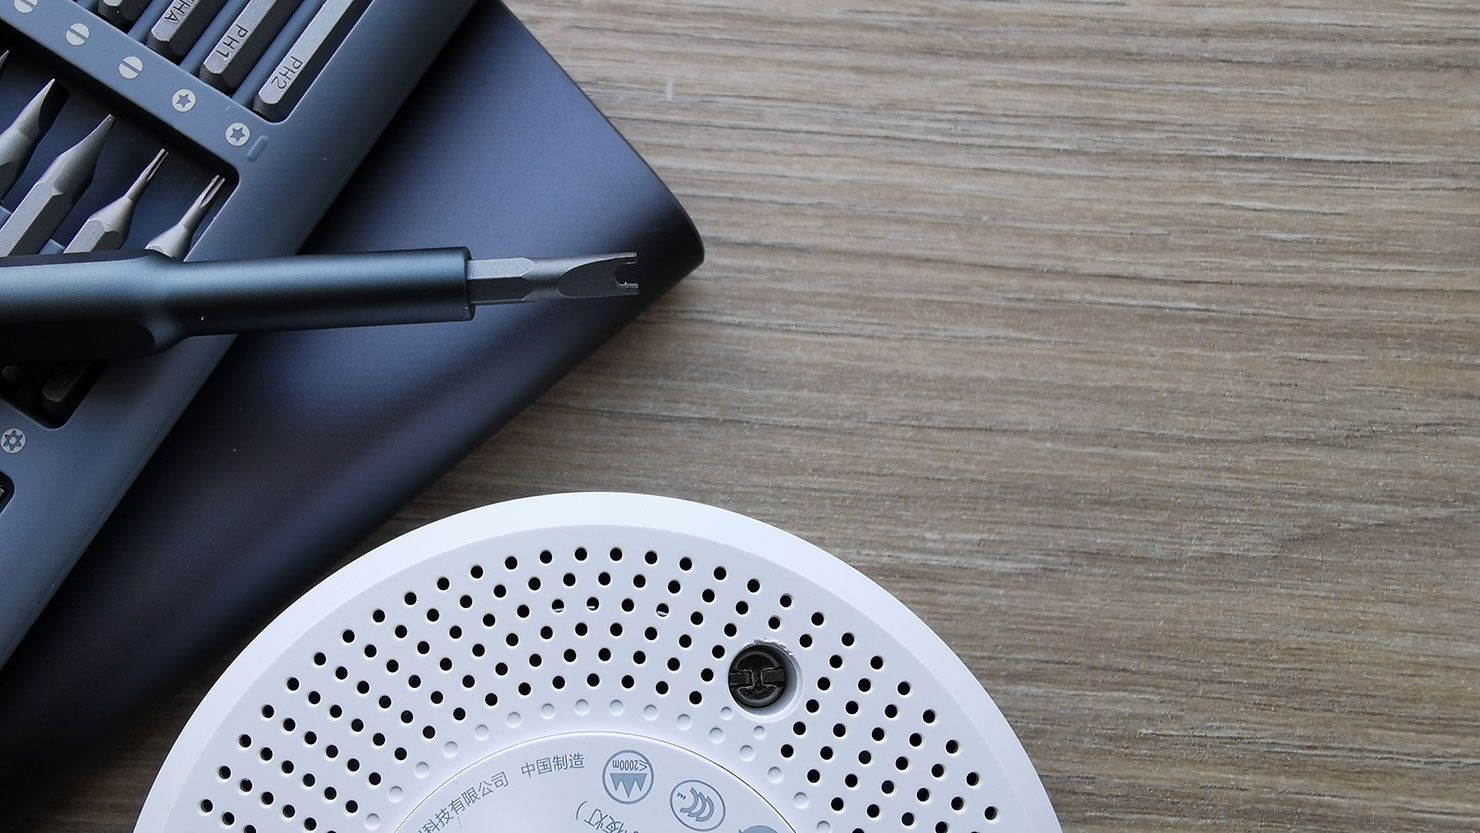
If you have ever disassembled any hardware then you might already know that most of the times you will find serial port header somewhere on the board. So I ended up with a screwdriver in one hand and Aqara Hub in the other one... and some confidence that I can pull this off. Thankfully I had ordered Screwdriver kit from aliexpress before since you will need U2.6 bit to open some screws.

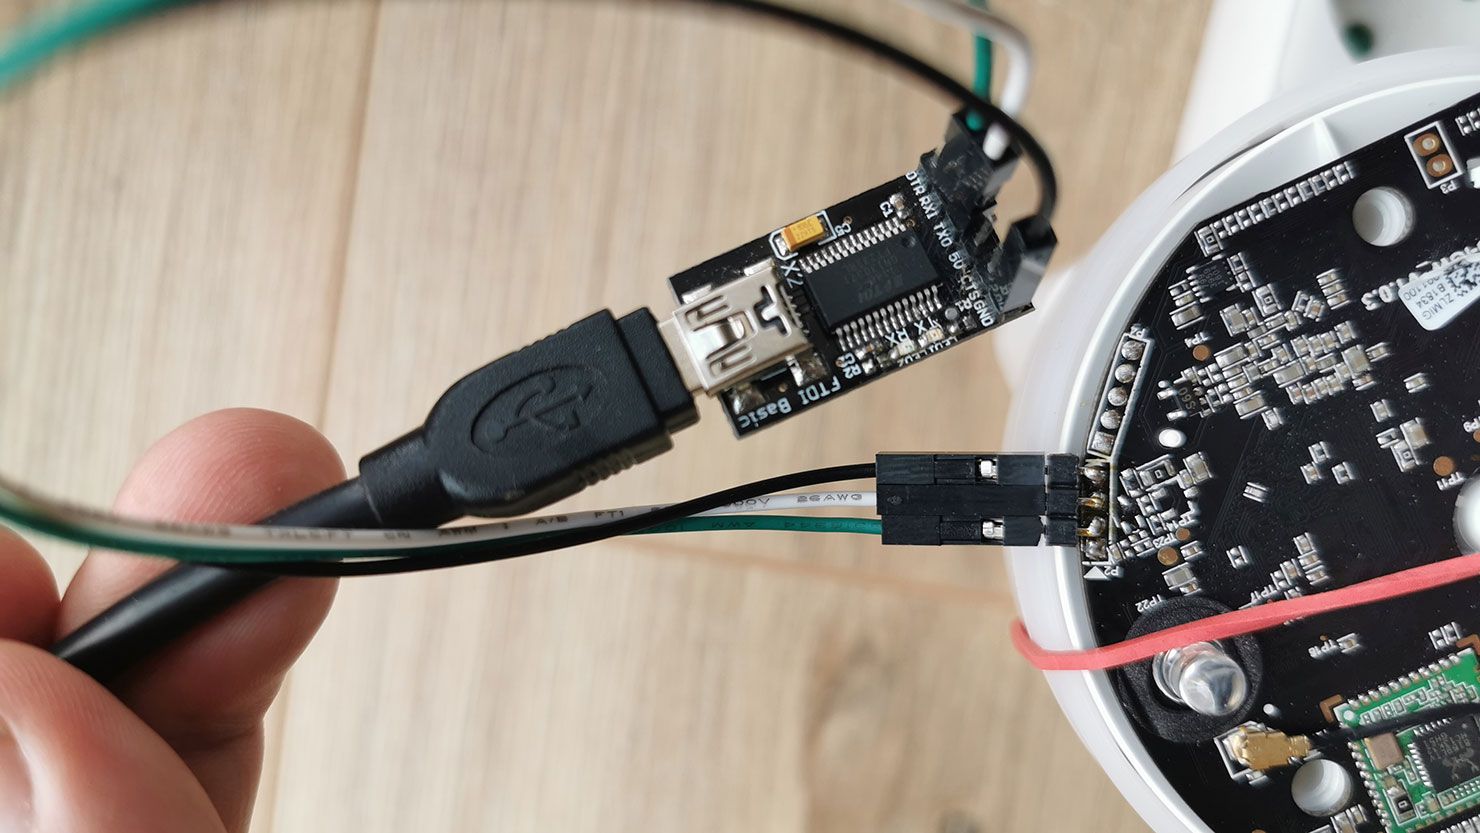
The internals were pretty straight forward, you basically have two options for serial port - one header with four holes and one with six. The obvious one was with four holes. First I checked it with multi-meter, then checked with oscilloscope and could clearly see that they are used for data transfer. I ended up soldering some header pins so I can plug in the cable. Next you attach a FTDI to USB adapter. You would use first three pins from the right - ground, rx, tx. Obviously rx and tx are connected in opposite order to the FTDI adapter: rx->tx and tx->rx. To boot the unit I actually had to plug it in the 220v mains so you should be careful not to have electric shock. Also I suggest wrapping it with a rubber band because the board needs to be pressured down to make contact with the internal power supply. Launch your favorite console emulator, you only need to set the baud rate to 115200, leave other parameters as is. After that I saw the boot sequence output in my console. Next step was to get inside the shell and see what is happening. After looking around at some forums I discovered that you can interrupt the boot process and modify the boot configuration by adding init=/bin/sh which will land you in the shell without the root password.
=> printenv
baudrate=115200
board_name=EVK
board_rev=14X14
bootargs=console=ttymxc0,115200 ubi.mtd=3 root=ubi0:rootfs rootfstype=ubifs
...

=> editenv bootargs
edit: console=ttymxc0,115200 ubi.mtd=3 root=ubi0:rootfs rootfstype=ubifs cma=96M mtdparts=gpmi-nand:3m(boot),7m(kernel),1m(dtb),-(rootfs) **init=/bin/sh**

=> boot

NAND read: device 0 offset 0x300000, size 0x700000
 7340032 bytes read: OK

NAND read: device 0 offset 0xa00000, size 0x100000
 1048576 bytes read: OK
Kernel image @ 0x80800000 [ 0x000000 - 0x617290 ]
...
[    2.793281] VFS: Mounted root (ubifs filesystem) readonly on device 0:14.
[    2.800990] devtmpfs: mounted
[    2.805094] Freeing unused kernel memory: 540K (80aa1000 - 80b28000)
sh: cannot set terminal process group (-1): Inappropriate ioctl for device
sh: no job control in this shell
sh-4.3#
At this point you need to change root password and reboot the box in order for system to boot properly with all the auto-run programs. To do that you will need to remount the root filesystem in read-write mode (mount -oremount,rw /) and then execute passwd command. After a reboot you are landed in a hkbridge utility by default so you need to type in "exit_factory" as input cmd. After that you will be prompted with a default login screen. The system itself is running busybox. The ssh is a part of dropbearmulti package which didn't have openssh server compiled in so I had to stick with the serial console over FTDI to make any further changes. The unit is running some proprietary binaries from Xiaomi and those had some .conf files with relevant information. The important bit was the model identifier in the config. I can't recall exactly what was my model identifier, but you need to change it to EU version which is aqhm02.
root@Aqara_Hub-1625:~# cd /lumi/conf/
root@Aqara_Hub-1625:/lumi/conf# grep aqhm02 device.conf
device.conf:model=lumi.gateway.aqhm02
There are also a few files in /home/root/hkbridge which need to be changed: hostap.conf and wpa_ap.conf. Apparently the unit will not be visible to the MiHome app unless the ssid starts with "lumi-gateway-aqhm02_xxxxx". I also changed all occurrences of aqhm01 to aqhm02 in acc_creator.json just in case it's being used as well, but you can probably skip this. After all those modifications I rebooted the unit and it happily showed up in MiHome app using European servers.
Please note that I'm running firmware 1.6.8_003 on my HUB. There have been multiple reports that the above procedure does not work on 2.x versions. Unfortunately I cannot confirm that.
You don't really need to buy the European version which costs more than twice unless you hate the non-european plug of the Chinese hub version.
Comments ()